Creating Tables
Tables can be a powerful and easy way to arrange and display certain types of information. This is generally used for rendering data that belongs naturally in a grid, in other words where the data describes a number of objects that have the same properties.
Tables are defined with the <table> tag which is divided into rows, with the <tr> tags and each row is divided into cells, with the <td> tag.
This looks something like this in your HTML code:
<table border="1" width="50%">
    <tbody>
        <tr>
            <td>
                row 1, cell 1</td>
            <td>
                row 1, cell 2</td>
        </tr>
    </tbody>
</table>
Which would give you this when outputted in the editor's WYSIWYG view.
| row 1, cell 1 | row 1, cell 2 |
Creating tables
To create a table:
1. Click on the 'Table' icon.
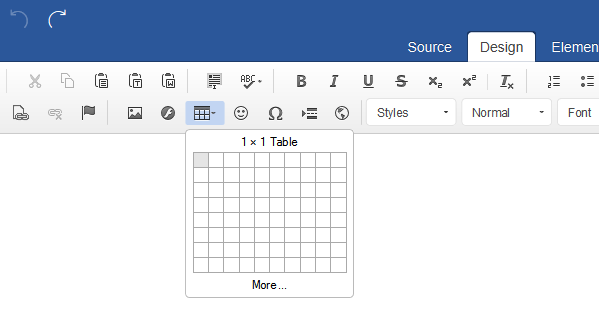
- Select your rows and columns from the grid.
- Click on the grid to insert the table.
Editing tables
You may want to tweek or re-edit the table, if so you can do this by selecting the table element. Generally the easiest way of doing this is to:
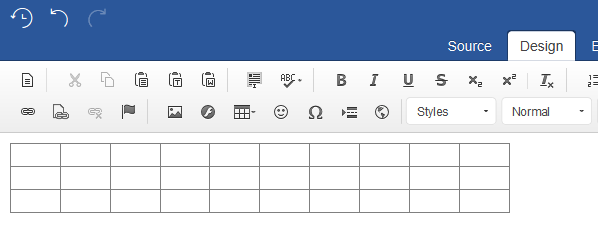
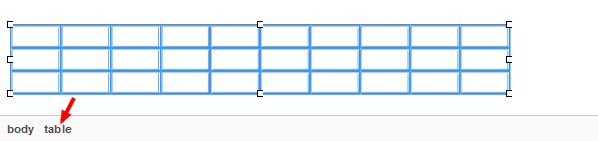
- Click on the table.
- Select 'table' from the element path inspector, please see below:
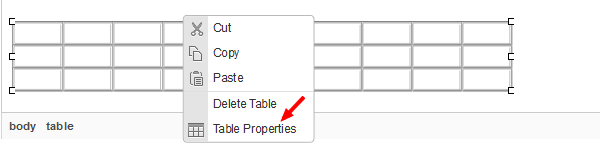
- Right click on the table.
- Select an action like ‘Table Properties’ from the menu.
NOTE: You can also use this method to edit the table ‘tr’ and ‘td’ elements which will allow you to: add, edit and delete your table cells, rows and columns.
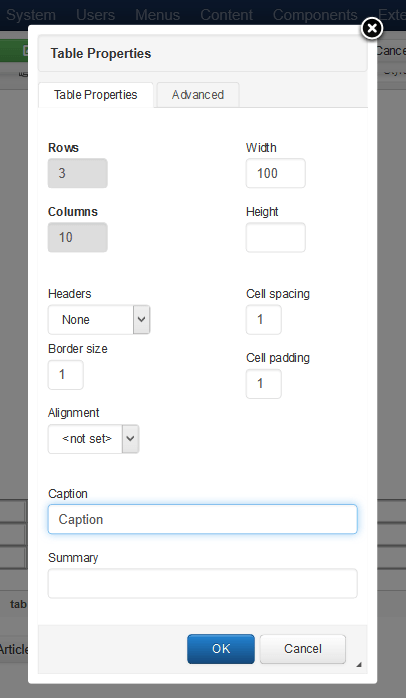
Now the 'Table Properties' window will pop up which is where you can customise some of the table’s settings.
- You can set the width and height of the table (Note: If your layout is responsive you may want to set it to 100%). You can align the table and add your 'caption' (which will add a header to the table).
- Click on 'OK' to apply your changes to the table.