Using the Font Awesome Plugin
You can add icons to your content, using the Font Awesome plugin.
Installing the Font Awesome plugin:
- Click on the 'Client Area' button, in the Ark Extensions website, homepage and select 'Downloads' from the side menu. This will take you to the 'Downloads' page, as seen below.
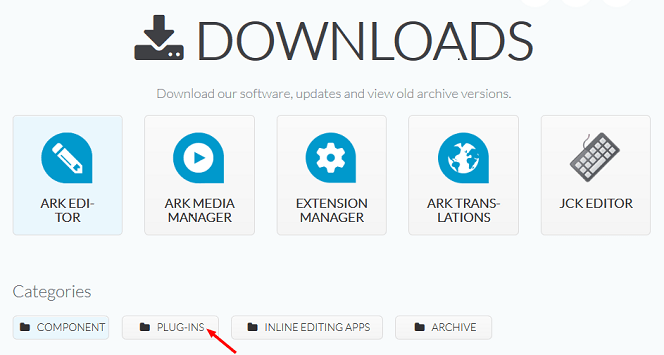
2. Click on the 'Ark Editor' button , then click on the 'Plug-ins' button. Scroll down to the Font Awesome plugin and click on the 'Download' button.
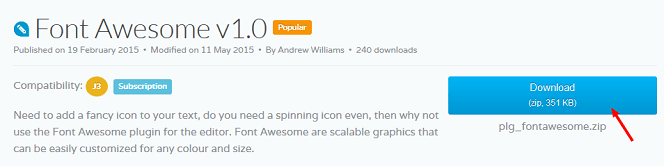
- Save the 'plg_fontawesome.zip' file.
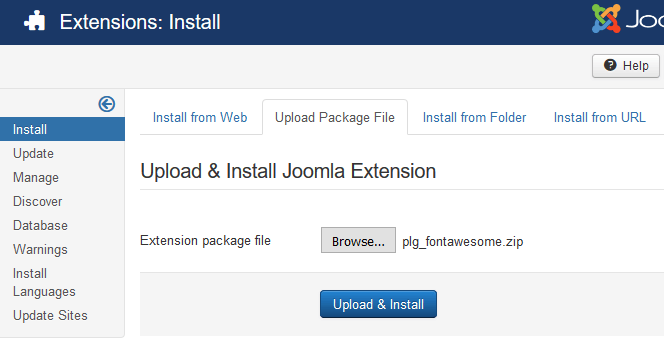
- In the backend administrator, navigate to 'Extensions' and click on 'Manage'.

5. Under 'Upload Package File' click on 'Browse...' > navigate to the Zip file > select it and click on 'Upload File & Install'.
You will now have installed the plugin.
You now need to add, the 'Font Awesome' plugin to the editor toolbar.
To do this:
- Navigate to 'Components' > 'Ark Editor' and click on 'Layout Manager'. This will take you to the 'Layout Manager' screen.
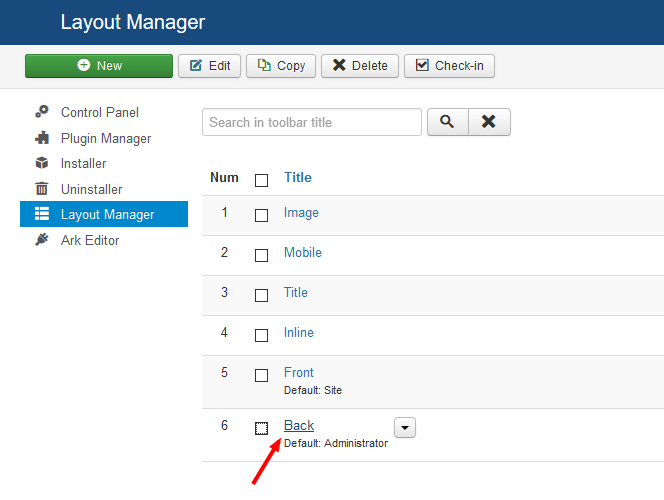
- Click on 'Back', to add the plugin to the administrator toolbar. This will take you to the 'Layout Manager', backend toolbar screen.
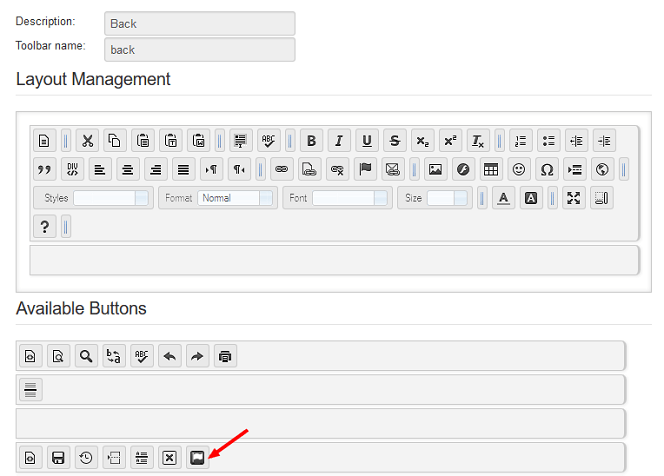
3. Drag the 'Font Awesome' button, from 'Available Buttons' to the adminstrator toolbar, above.
- Finally, click on the 'Save' button. The Font Awesome plugin will now be added to the backend administrator, toolbar.
To insert icons into your content with Font awesome:
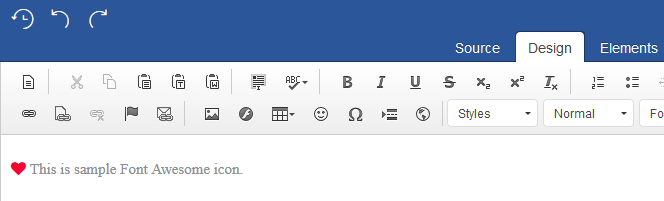
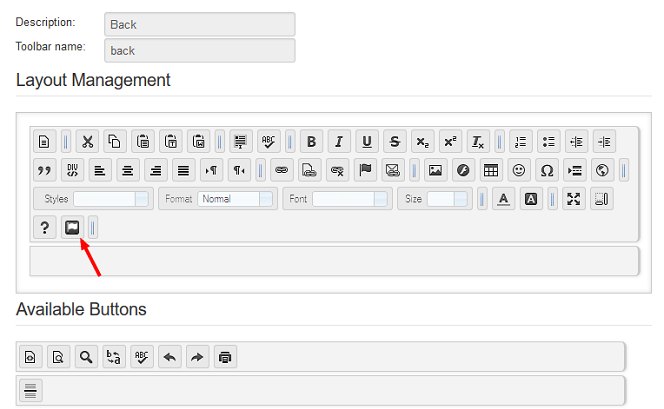
- Click on the 'Font Awesome' icon. This will open up the 'Insert Font Awesome' window as seen below.
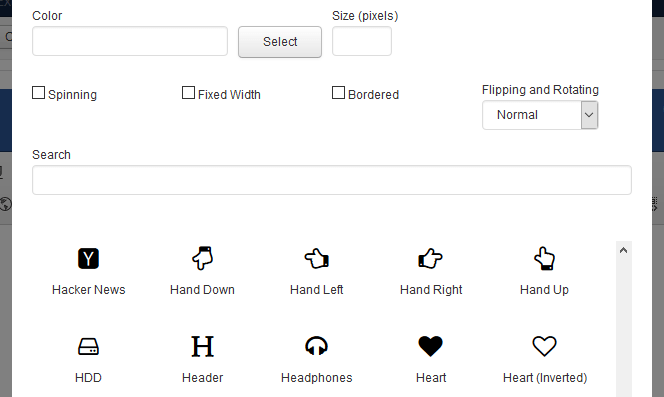
Here you can edit the icon, if you wish, by changing the colour, size, giving it a border, etc.

2. Click on the icon, you would like to insert into your content and click on the 'OK' button. The icon will now be inserted into your content.