Bringing the Editor in line with your Template
Bringing the Editor in line with your Template
Introduction
From version 2.0 the ARK Editor comes with an ‘Auto Style-sheet Parser’ which does all the work of setting up the editors ‘editing area’ and 'Styles' drop down list. This means that you don’t need to know CSS, or spend hours styling up the editor’s editing area. However, there are still plenty of options for you to customise and filter out what styles you want the editor to use.
To do this please go to components > Ark Editor > Control Panel > Options > Styles, and you’ll see you now have 3 options with which to control how the Ark Editor works.
1. Formatting & Display
This controls both the 'editing area and 'style lists' and is used for the operation of the Ark Editor.
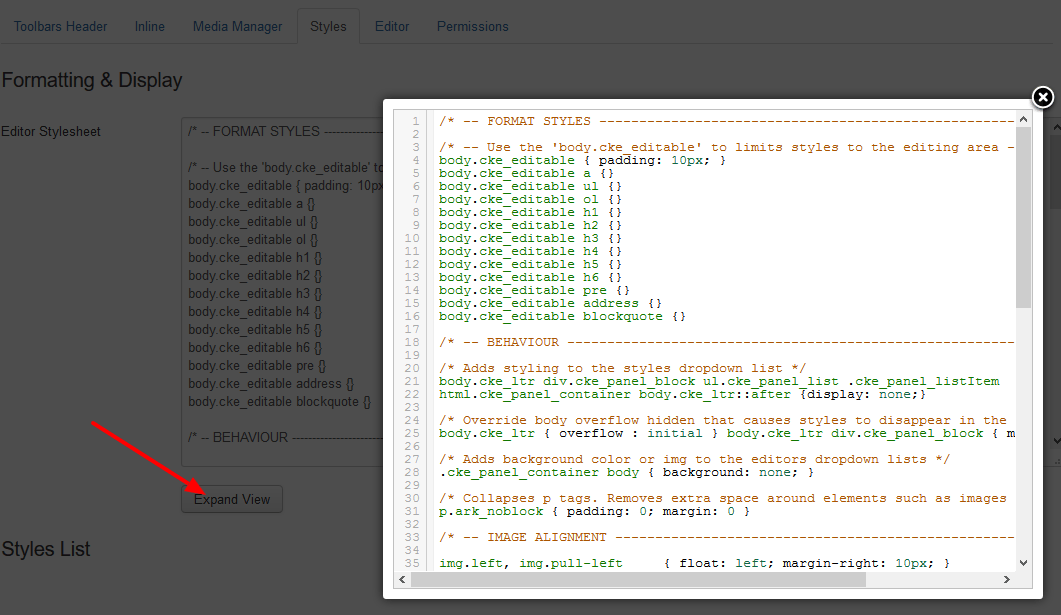
You shouldn’t need to touch this however, you can even tweak things if required.
With this you can define
- Add background colour or img to the editor’s Style and Format dropdown list.
- Tweek Alignment and thumbnail style for the modal box
- And Media and audio Alignment
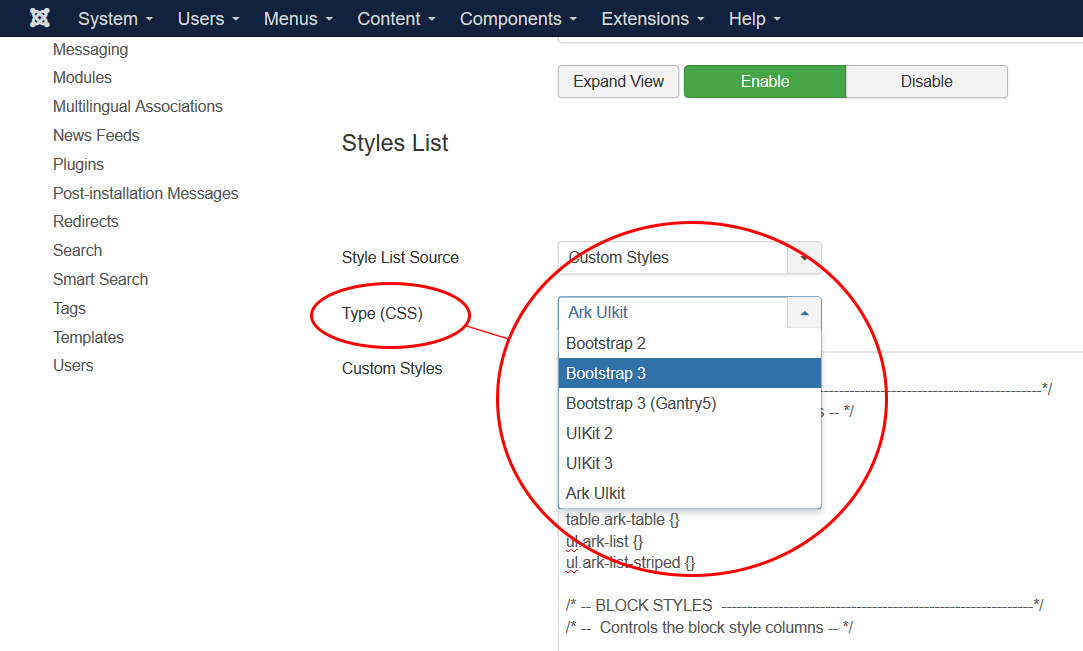
2. Styles List
This option controls the editor’s drop down ‘Style List’.

This will allow you to choose one of three style sources or modes for how this list is populated:
- Auto Stylesheet parser (default)
By default the Auto Stylesheet parser will do the work for the Style List. This is further enhanced by running your templates style through the ‘Exclude Stylesheets’ and ‘Exclude CSS selectors’ which works to filter out useless classes.
- Custom Styles
The 2nd option is to use ‘Custom Styles’ which will open up the "Type (CSS)" options list below, comprised of Ark UIkit, Bootstrap 2 and 3, Bootstrap 3 (Gantry 5), and UIkit 2 and UIkit3 libraries. Please note: you must select the library that corresponds to your website template (please consult your website manager if necessary). Each library comprises a list of predefined 'Object', 'Block,' and 'Inline Styles. Advanced users have the option of adding their own styles by adding a class name to their template (i.e. p.myclass {}) which will add a new style to the editor style drop-down list
3. Custom Stylesheet File
The 3rd option will allow you to add the file path to a stylesheet you have built yourself, by adding the path to your editor CSS (i.e. templates/[TEMPLATE NAME]/editor.css). The editor will then read for the file and populate the editor’s drop down ‘Style List’. This is especially useful if you are switching from JCE.
3. Auto Stylesheet Parser
The ‘Auto Style-sheet Parser’ is a ground breaking tool because it actually looks at what styles are being used in your template rather than just reading from a stylesheet directly. Without it on you can end up with something that looks different because it is not reading the same styles that is being used on the frontend of your site. A classic example of this is with Joomla’s own Bootstrap. If an editor is to read from the bootstrap.css file directly then it will come with the stock Bootstrap styling however, most templates nowadays are using Bootstrap with its own theme added to it. This can result in a button looking different in the editors editing area from how it is seen on the front end of your template. To overcome this and the complexity of modern templates we now need to look at what’s being rendered in the template first rather than pulling in a bunch of CSS stylesheets.
How to filter out stylesheets and CSS selectors?
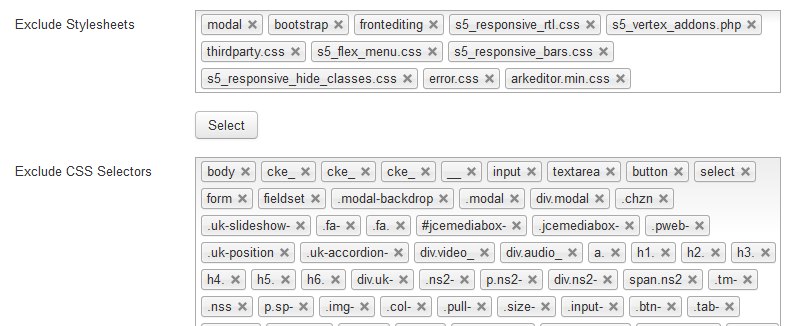
The ‘Exclude Stylesheets’ and ‘Exclude CSS selectors’ filter out useless classes and is applied to all three of the 'Style List' source modes. Its setup to filter out useless stylesheets and classes which we don’t need in the editor's dropdown Style List. To do this:
Navigate to 'Components' > click on 'Ark Editor' and click on the 'Options' button. Under the 'Styles' tab > navigate to 'Auto Stylesheet Parser' > 'Exclude Stylesheets' and click on the 'Select' button.
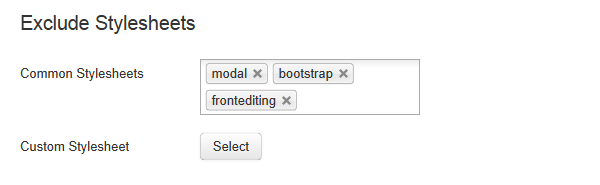
This will bring up the lightbox seen below.
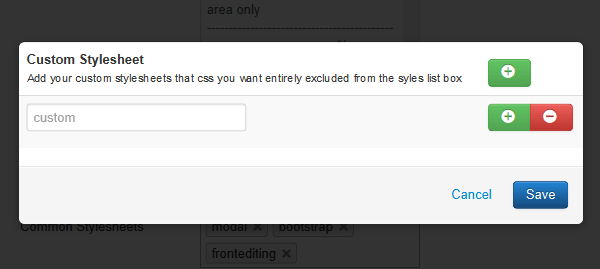
2. Add the name of the Stylesheet you wish to exclude. For this example we have used the stylesheet named 'red'.
NOTE: Please note that you should not add '.css' or '.less', only add the 'name' of the style-sheet as seen below.
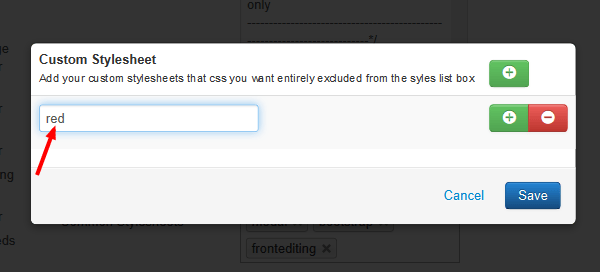
3. Lastly click on the 'Save' button and the main green 'Save' button to apply your changes.
NOTE: Please note that this may not work if your template is using the CSS @import method to import all stylesheets through one main template.css file. If this is the case don’t worry you can still excludes CSS selectors from the options below.
How to exlcude a CSS styles:
Navigate to 'Components' > click on 'Ark Editor' and click on the 'Options' button. Under the 'Styles' tab > navigate to 'Auto Stylesheet Parser' > 'Exclude CSS Selectors' and click on the 'Select' button.
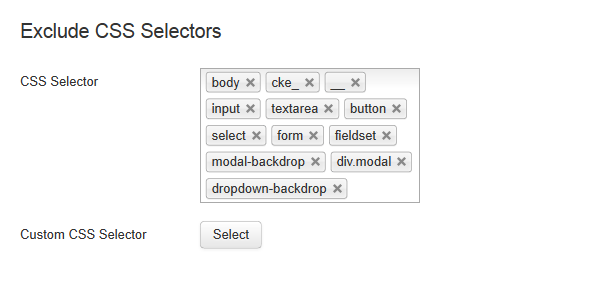
This will bring up the lightbox seen below.
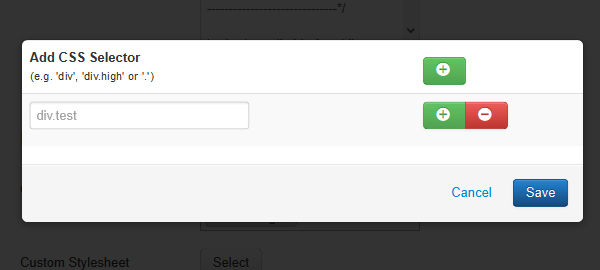
- Add the name of the CSS style you wish to exclude.
How to include Stylesheets and CSS Selectors
To prevent the Style list coming prepopulated with loads of classes the editor comes with a blacklist of common styles. This means it is plausible that a style you want to be listed in the editor ‘Style List’ isn’t there because it is using a popular naming convention. To include you can remove the filter by clicking on the ‘X’ next to the style name.
4. Customising the Format list
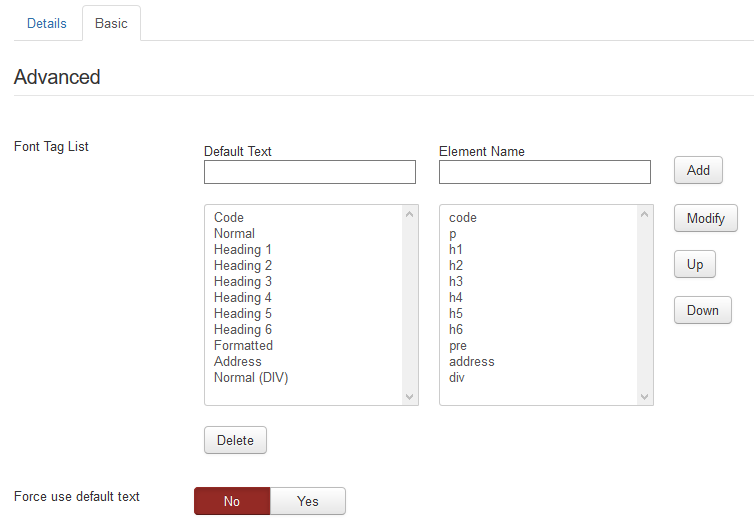
This option allows you to define what font tags you would like in the editor’s ‘Format List’. To do this:
Navigate to 'Components' > click on 'Ark Editor' and click on the 'Plugin Manager' button and filter for format and open. Under the 'Basic' tab > you will see a number of parameters which will allow you to add, modify the items which appear in the editor’s ‘Format’ drop down list.
So for instance if I want to add a new ‘code ‘element I would add this to the ‘Default text’ field and again in the ‘Element Name’. Lastly, click on the 'Add' button which will then include this in the format list.
Read more: Bringing the Editor in line with your Template
- Hits: 75